The Record Summary shows all of the important resident information. This report can be printed for doctors appointments and other hospital/ER visits. It is a useful tool for entering resident information and quickly identifying information missing in the resident record.
Navigate the Resident Header
1. Click on "Select Resident" under the "Resident" tab.
2. Select a resident.
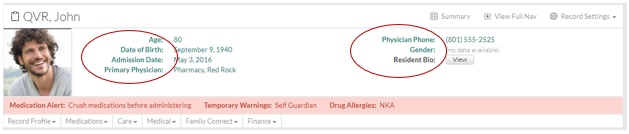
The Resident Header displays the resident's information.
Each field is linked to the page where the information can be added/edited.
It's important to enter as much information as possible, as well as to keep the information updated.
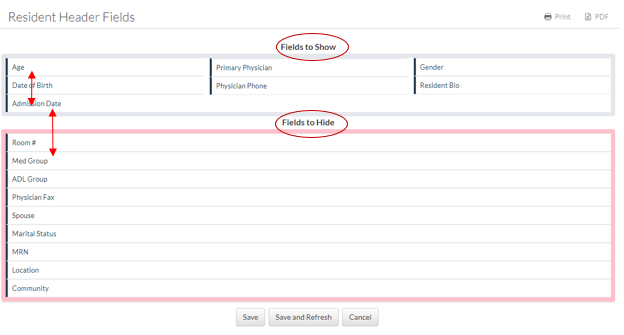
The fields can be rearranged and/or hidden. See the "Setup the Resident Record Summary" section of this help topic for more information.
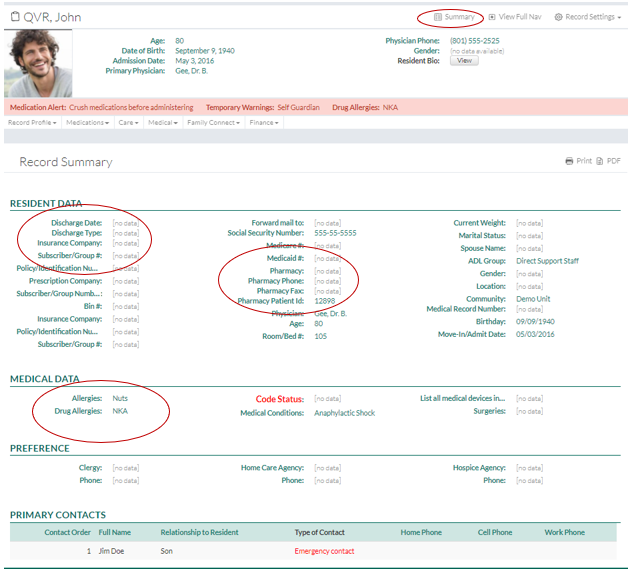
The Resident Record Summary/Facesheet is printable.
Navigate the Resident Record Summary or FaceSheet
The Record Summary will appear first when a resident is selected. It contains important resident information in one, easy-to-find place.
Note that the Record Summary is customizable, but not per resident. Customizations made to the Record Summary effect the community as a whole, not individual residents.
Also note that similar to the Resident Header, each field is linked to the page where the information can be added/edited.
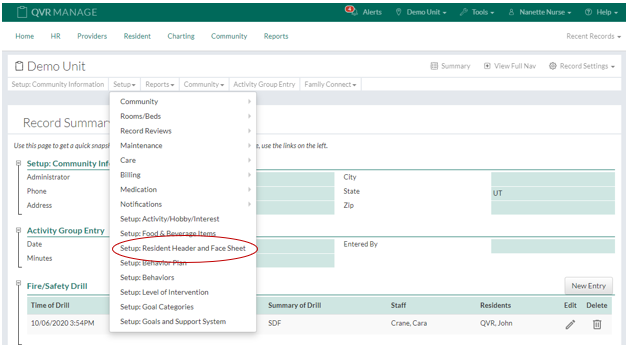
Setup the Resident Record Summary
1. Click on "Community Record" under the "Community" tab.
2. Click on "Setup: Resident Record and Face Sheet" under the "Setup" dropdown.
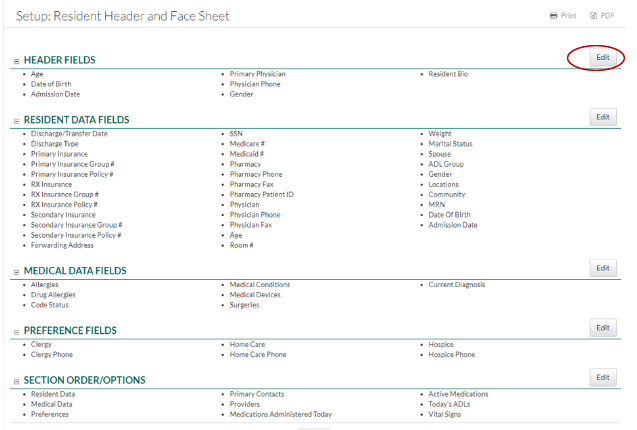
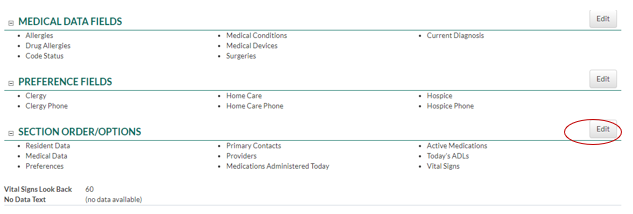
3. To make changes and adjustments to different sections, click on the "Edit" button for the corresponding section.
The fields can be dragged and dropped into the desired order.
Note that the drag and drop system is the same for each section.
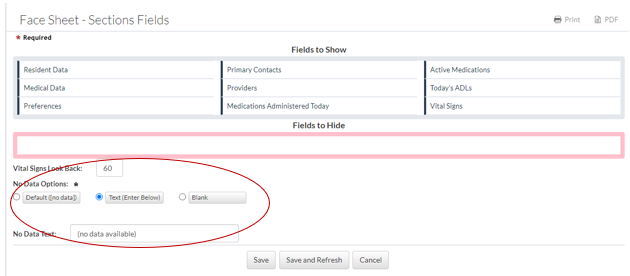
The "Sections Fields" section is unique in that the "Vital Signs Look Back" and "No Data Options" can be adjusted.
Change how far back vital signs are displayed by changing the number of days in the "Vital Signs Look Back." 90 days is the maximum.
The default value for fields with no data is "[no data]". Custom text can be entered to display instead of the default value. There is also the option to leave no data fields blank